As promised here I show you how I make book-, folder- and notebook-covers. There are many tutorials and different ways to sew them and I have absolutely not invented something new. But when I was searching the web for a nice and easy-to-follow tut for ‘my’ way of making covers trying to cut short my preparation time for the classes I teach, I discovered a void. Sigh. The lazy me had to write one myself. Here it is:
1. Open your book / folder / reporter’s notebook / whatever in the middle and measure.
2. Add 3cm to the height and 20cm to the width. If it’s a rather fat volume add another 3cm to be on the safe side.
3. Take your fabric or even better sew together two nice fabrics that have at least the calculated size after pressing. (My piece is a bit too small! Not a good example, sorry.)

4. To fit the book into the cover and know how the front will look like you should wrap the book into your fabric and iron the edges. Now you can decide on some embellishments like appliqué or embroidery which is best done at this stage.
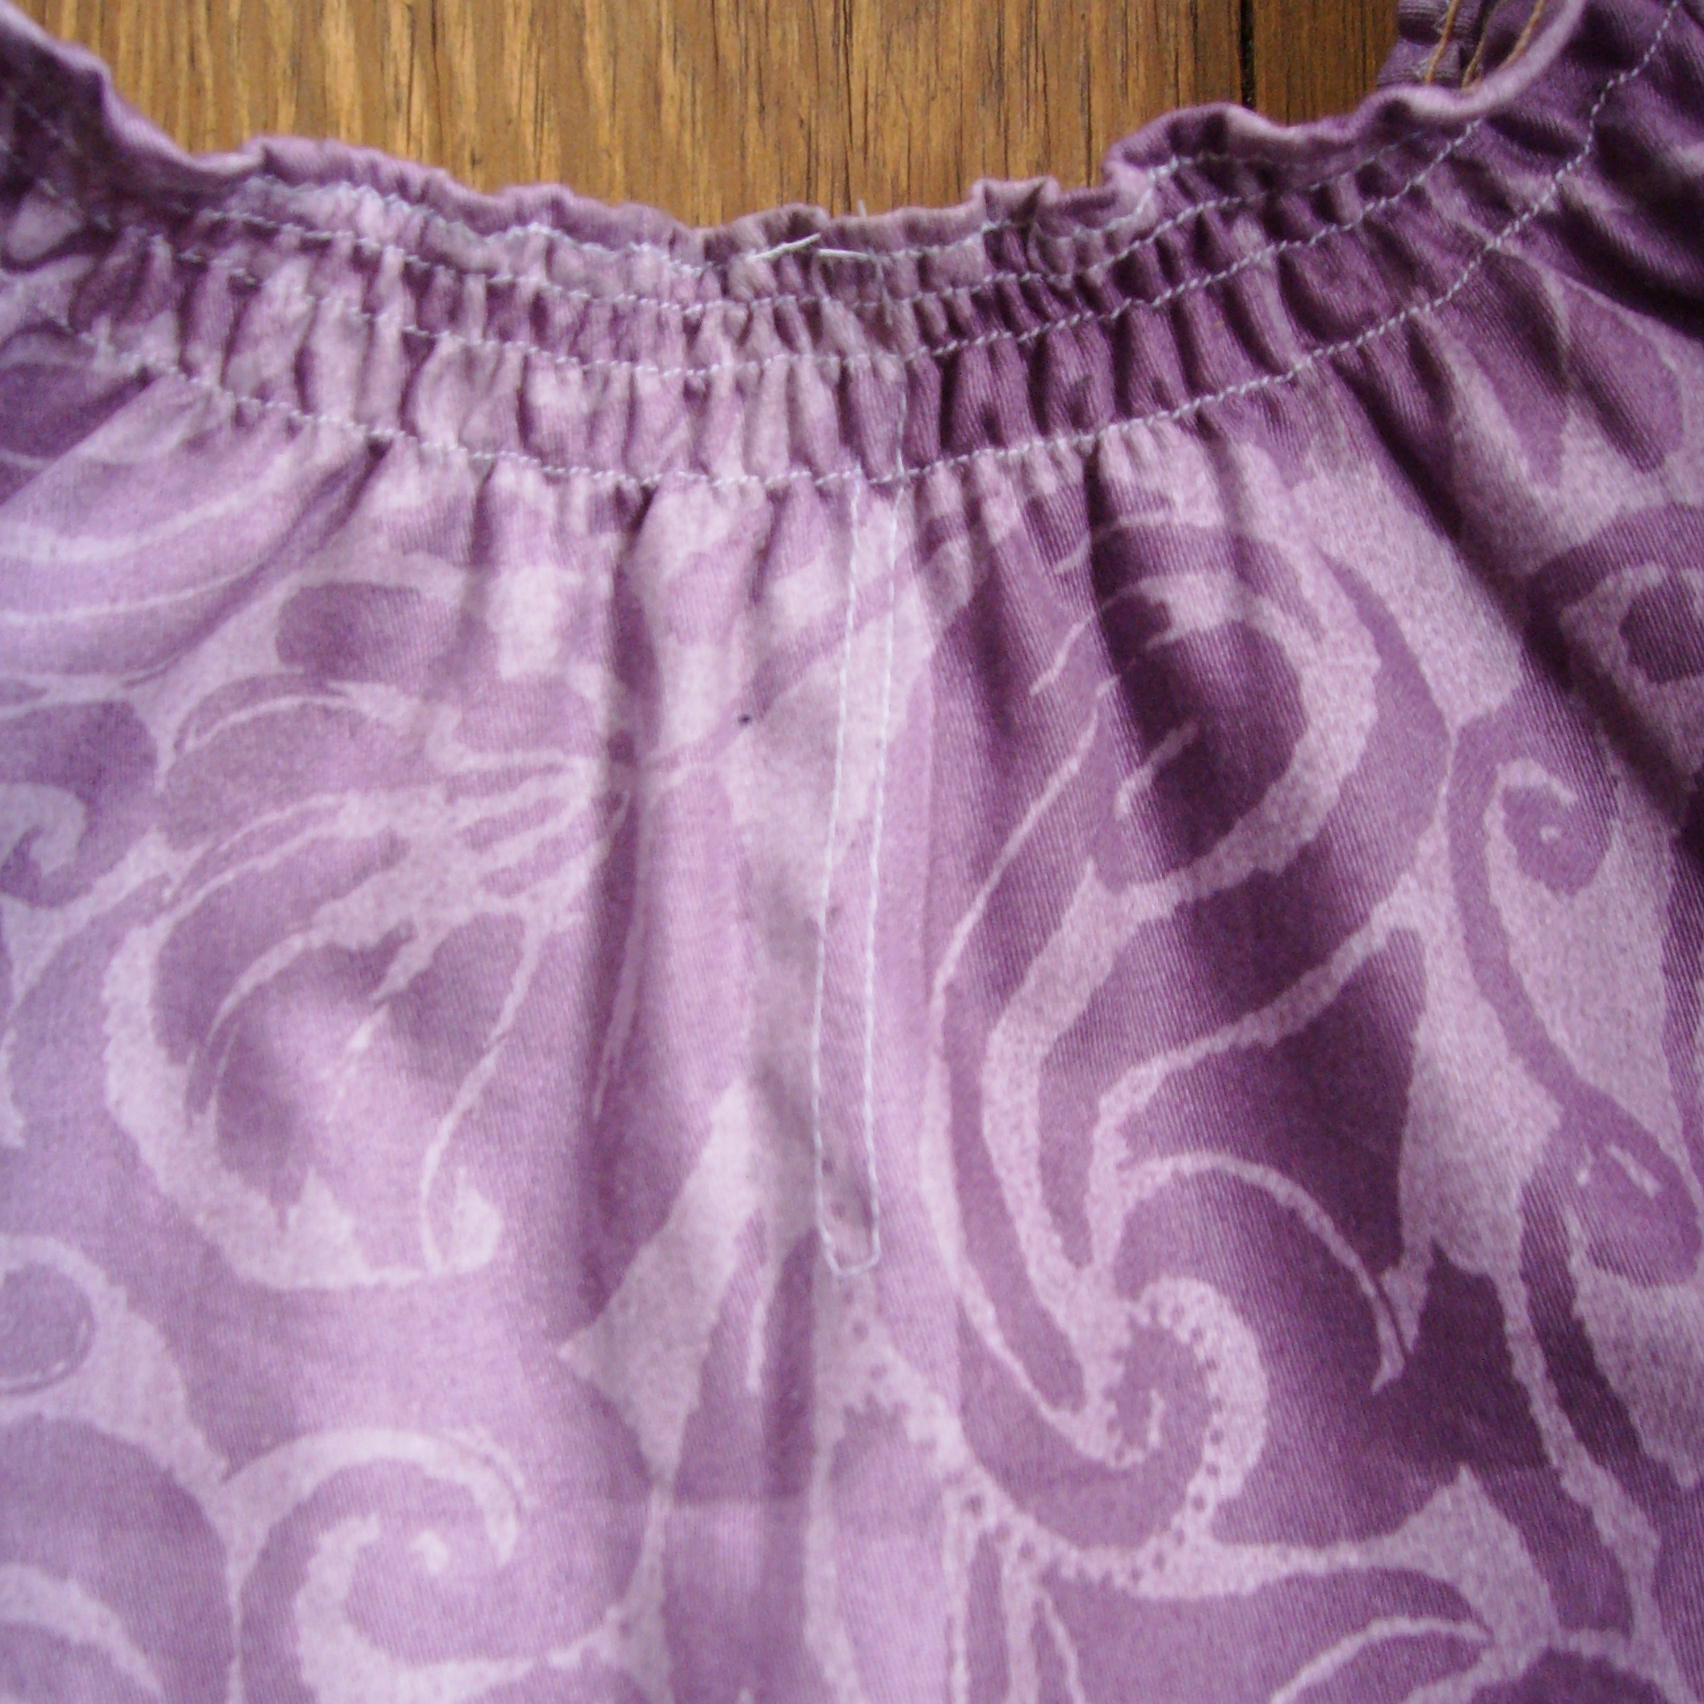
5. Fold and press the short sides inside twice, appr. 1cm and sew. (That was done before in the pic above because I was using up an old pillowcase.)
If you want your cover to be extra nice and soft, iron on volume fleece like Vilene the size of your opened book. (I’ve used some scraps.)
6. For the lining cut a piece of fabric the size of the height of the book +3cm and the width of the opened book.
7. Now close your book wrapped in the fabric again, but this time with the inside looking out. Press the sides again and carefully open and remove the book. You may secure the folded edges with pins.


8. Lay the lining on top of the cover-fabric, ‘good’ sides facing, folded edges sandwiched in between.

9. Pin and sew top and bottom side of your ‘sandwich’, but not the sides! Don’t forget to backstitch to secure your edges and clip corners to reduce the bulk when turning.

10. Time to turn! First you turn the lining, like this: then the edges. Press.

11. Slip the book into the cover …

… et voilá: Finished!

(Eeek, because I was using up an old pillowcase and not having enough fabric, the bottom doesn’t look very nice. Hey, I should find a smaller book, then it’ll fit!)
Wie hier versprochen zeige ich, wie ich Buch-, Ordner- und Collegeblockumschläge mache. Es gibt viele Tutorials und verschiedene Arten und Weisen diese Hüllen zu nähen und ich erfinde absolut nichts Neues hier. Aber als ich das Netz nach einer netten, leicht nachvollziehbaren Anleitung dafür durchsuchte um mir die Vorbereitung für meinen Unterricht zu verkürzen, fand ich nur Leere. Ächz. Mein faules ich musste selber schreiben. Hier ist sie:
1. Schlage das Buch in der Mitte auf und miss es aus.
2. Addiere zur Höhe 3cm und zur Breite 20cm. Bei dicken Büchern sicherheitshalber noch 3cm dazu rechnen.
3. Suche ein passendes Stück Stoff oder noch besser nähe zwei Stück Stoff rechts auf rechts so zusammen, dass es nach dem bügeln mindestens die errechnete Größe hat. Zurechtschneiden, dabei auf rechte Winkel achten.
4. Schlage das Buch probehalber in den Stoff ein und bügle die Kanten. Jetzt weißt du, wie die Vorderseite aussieht und du kannst dir die Verzierungen ausdenken, z.B. Applikationen, Stickerei etc. Zeichne vorsichtig mit Schneiderkreide an, wo etwas hin soll, dann nimm das Buch heraus und bringe die Verzierung an.
5. Bügle die schmalen Kanten links und rechts 2x1cm breit nach innen um und nähe sie fest.
Wenn der Umschlag besonders gut werden soll, dann schneide ein Stück Volumenvlies (Vlieseline H630) so groß wie dein aufgeklapptes Buch zu und bügle es auf die Innenseite.
6. Schneide als Futter ein Stück Stoff zu, Höhe wie Buch +3cm, Breite wie das Buch.
7. Schlage das Buch noch einmal in dem Stoff ein, jetzt aber mit der Innenseite nach außen, also ‘falsch’ herum. Öffne das Buch und ziehe es vorsichtig heraus, so dass die Außenseite des Stoffes zu sehen ist und die Klappen zum Einschlagen gegen die Richtung der alten Bügelfalte nach oben zeigen, man kann dort die Innenseite und die Nähte sehen. Bügeln und mit Heftnadeln sichern.
8. Lege den Futterstoff darauf, ‘schön’ auf ‘schön’ (rechts auf rechts), d.h. die Innenseite ist oben zu sehen. Die Einschlagklappen sind dabei die ‘Füllung’ im ‘Sandwich’.
9. Jetzt hefte und nähe das ‘Sandwich’ oben und unten, NICHT an den Seiten! Verriegeln nicht vergessen. Nach dem Entfernen der Nadeln schneidest du die Ecken bis kurz VOR der Naht ab.
10. Jetzt wendest du erst das Futter und dann die Klappen. Die Nähte und Ecken vorsichtig ausstreichen und bügeln.
11. Buch oder Collegeblock einschlagen. Voilà, fertig!
 … ich hätte auch einfach dieses alte Schnittmuster verwenden können, wenn ich mich denn an den Flohmarkt-Fund erinnert hätte.